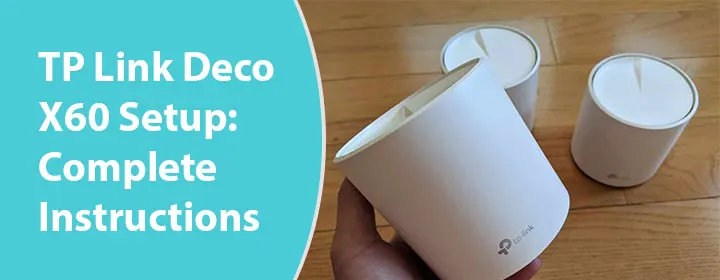
TP Link Deco X60 Setup: Complete Instructions
The TP-Link Deco X60 mesh system is available in 1, 2, or 3 packs. It means, you can have one, two, or three Deco X60 units installed in your house. This blog will shed light on the instructions to complete the TP Link Deco X60 setup. FYI, it will be like general Deco AX3000 setup. The reason being, the mesh units are a part of the same family.
How to Set Up TP-Link Deco X60?
When a Deco mesh system is installed in the house, the first unit that connects to the ONT (optical network terminal) or the modem acts as a router. Other units act as nodes and are called satellite Decos.
Thus, if you already have an existing router in the house, it is recommended that you disconnect it from the modem. However, you have to set up the main router as an access point if you want to connect the Deco X60 unit to the router only. Now, let’s have a look at the steps involved in the TP-Link Deco X60 setup.
Deco X60 Setup Instructions
Here are the complete instructions that must be followed in the correct sequence for the mesh system’s installation:
- First of all, get the TP-Link Deco app from the Google Play Store or App Store of your mobile phone.

- Ascertain that the app version is the latest and the stable one.
- After that, launch the app.
- A login page will show up that will prompt you to log in using the TP Link ID or create a new one.
- In case, you do not have any TP Link ID, consider creating one with the help of the email address and some related information.
- The app will now take you to a page where it will ask you to pick the Deco model to be installed.
- Choose Deco X60 from there.
- Now, the instructions regarding power cycling the modem/ONT and connecting it to the main Deco using an Ethernet cables will show up.
- Do what the app suggests and connect your devices.
- Thereafter, plug the Deco X60 main unit.
- Once done, the app will now ask you to connect the mobile to the Deco network.
- Check the Deco mesh unit label to find out the default SSID and password.
- Once connected, the app will now prompt you to choose a location where the main unit is placed.
- Create an admin password. This password will allow you to access Deco via a web browser.
- Thence, upgrade the firmware (if available).
- If there are more than one Deco units to be installed, simply tap the Add More Deco option and keep following the on-screen instructions until the network is set up.
As soon as the TP-Link Deco X60 setup completes, consider connecting wireless devices to the WiFi network to check the internet connectivity. For further detailed management of the Deco mesh system, go to http://tplinkdeco.net on a web browser from a computer connected to the Deco unit. FYI, Deco units should be placed within each other’s range for an effective communication. Also, they can be connected via an Ethernet cable.
The Conclusion
The TP-Link Deco X60 setup is not a difficult process. Just a working ONT or modem is required. And the rest of the process will be completed with the help of the instructions appearing on the Deco mobile app.
