How to Complete TP-Link Deco X55 Setup Using Mobile Phone?
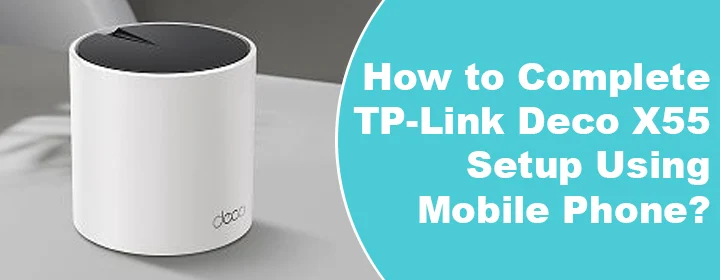
The TP-Link Deco X55 mesh system comes under the AX3000 WiFi devices brought in by TP-Link. It comes with 3 hardware versions that are – V1, V1.26, and V1.60. If you want to install any of these TP-Link Deco hardware versions in your house, it is recommended to walk through this post. The guide talks about the TP-Link Deco X55 setup process precisely.
How to Do TP-Link Deco X55 Setup?
No matter which hardware version of the Deco you are installing from the X55 legacy, the setup process remains very similar to the Deco AX3000 setup. Walk through the below given steps in order to configure the Deco X55 network in your house:
Note: You should have a gateway (specifically modem) installed in your house for the Deco setup process. In case, you have a router and do not want to get it replaced, it is recommended that you enable Bridge mode on it first.
1. Installing the App and Creating LAN Connections
- Disconnect your existing router from the modem and place the Deco X55 main unit at the same place where your router used to be.
- You can choose any Deco unit as the main unit. A Deco unit becomes the primary or main unit once it connects to the modem through an Ethernet cable. Rest others are satellite Decos.
- Now, you are required to connect your X55 main unit to the modem with the help of an Ethernet cable. The chosen port on the modem should be LAN 1.
- Once done, unlock the mobile phone > enable mobile data > navigate to Google Play Store/App Store.
- Install the TP-Link Deco app. If you’ve installed it already, update it to the latest stable version and wait for the newer version to get installed.
2. Logging in to TP-Link ID and Powering Up Deco
- Launch the app.
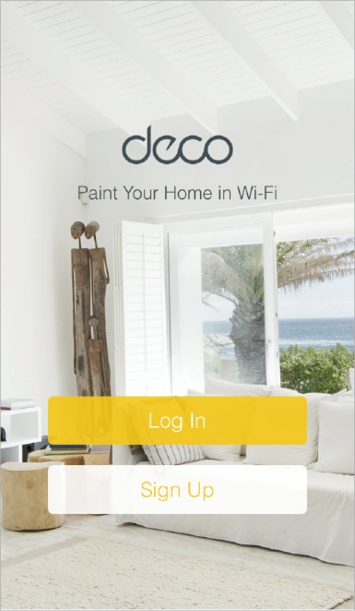
- If you are new to TP-Link, consider creating your account. Otherwise, log in using the existing one. The entered details must be correct.
- After that, the app will prompt you to choose the Deco model you want to install. Consider that you are installing the Deco X55, select it from the list.
- The app will now prompt you to restart your modem and connect it the main Deco unit. You can tap Next if you’ve already done that.
- Switch on your Deco and observe the LED. It must turn blue which is a sign that the Deco unit is ready for setup process.
3. Creating Network and Adding More Decos
- Choose the room or place where you are going to install the main unit.
- The next screen will ask you to create WiFi network and set up a network key for the Deco network. During this, you might also get a prompt to connect to the TP-Link Deco network.
- Use the correct details to connect to the Deco X55 mesh network you are now going to create and return to the app.
- The main unit is set up and now you are all set to install the satellite Decos. It can be done by tapping the Add More Decos button and going through the on-screen instructions.
This is how you can complete the TP-Link Deco X55 setup. This is to inform you that once the setup via phone is completed, you will also be able to manage the Deco settings via its web GUI. You can do this with the help of the tplinkdeco.net URL. The default login details can be taken from the label of your Deco unit. And yes, you can also hardwire your Deco units according to your free will.
In Summary
If we prepare a summary of what we have discussed in the TP-Link Deco X55 setup process, then it was all about downloading the Deco app, hardwiring the Deco with modem, and going through some on-screen after logging in via the TP-Link ID. The app itself is capable of guiding you which makes the setup process a breeze. So, you will be left with no difficult task and you can connect your devices to the X55 Deco network.

