Deco AX4300 Setup: Informational Guide
The Deco mesh system can make your home a hub of seamless internet connectivity. There are several features that you can enjoy like HomeShield, Deco port forwarding or many more. From below information, you will get to know about how to complete the Deco AX4300 setup with the help of two different methods.
Setup with Deco App
The Deco mesh system consists of three networking nodes, which you should connect physically to your home modem.
- Connect deco router with your modem via Ethernet cable (deco any port and modem LAN port).
- Then you have to open the Deco app in your phone, if you don’t have the app, then you can download it from the Play Store.
- Open the app in your phone, tap on the ‘Set Up New Deco’ and you will get to a new page.
- Select the model name of the Deco that is AX4300 and choose where you have connected the device in your home.
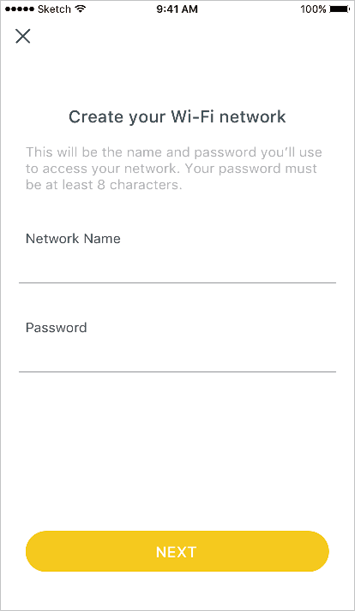
- After that, you need to Create Network, enter the SSID username and password, then SAVE it.
- Now, connect your phone to the network and adjust all the settings of the TP-Link Deco mesh.
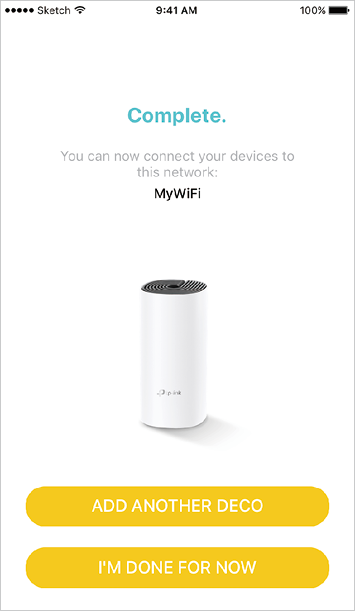
- You can now add more nodes by taping in the SETUP MORE DECO.
Setup with GUI Interface
One more way to the finish the Deco AX4300 setup is through your computer or laptop. Just follow below given steps:
- You should connect Deco router with the modem via LAN cable.
- After that link the computer or laptop to the router with cable.
- Launch the browser and type in the URL tplinkdeco.net or IP 192.168.1.1.
- Search it by pressing Enter button, and you will get to the Deco login interface.
- Enter the username and password (admin credentials) to carry on.
- The credentials are given on the device label or in the user manual.
- By filling and log in you will access the interface where you can adjust the settings.
Conclusion
From this post you have learned about TP-Link Deco AX4300 setup, we have provided all methods to set it up.


