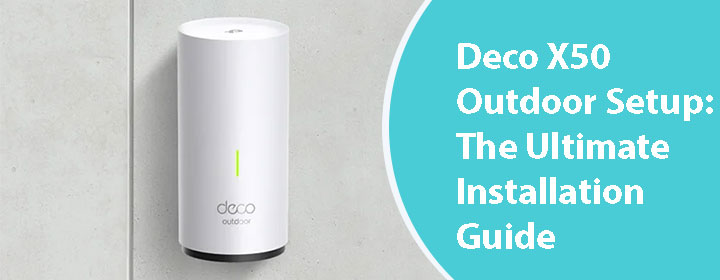
Deco X50 Outdoor Setup: The Ultimate Installation Guide
The internet has become the most basic need these days and in light of the same fact, we also need WiFi outside. Thankfully, with Deco X50 outdoor setup, seamless internet can be accessed at the spaces outdoors. This outdoor unit is a single WiFi unit and one can set it up as a router or AP.
Note: Although the Outdoor unit can be installed as a router or an access point, you are required to connect it to the ISP service physically (generally through a modem) or a 3rd party router.
How to Set Up Deco X50 Outdoor Unit?
For easy configuration, you must install the Deco X50 outdoor unit near one of the satellite Decos. The steps to set up the Deco outdoor and mount it are mentioned below:
1. Powering Up the Deco
At first, remove the base plate from the Deco unit and power it up either using the IEEE 802.3at PoE switch or IEEE 802.3at PoE adapter. You can also power up the Deco X50 via the 100-240V~50/60Hz 0.5 AC power supply. If you use the AC power supply, consider choosing an outlet that is weatherproof.
2. Performing Deco X50 Outdoor Setup with App
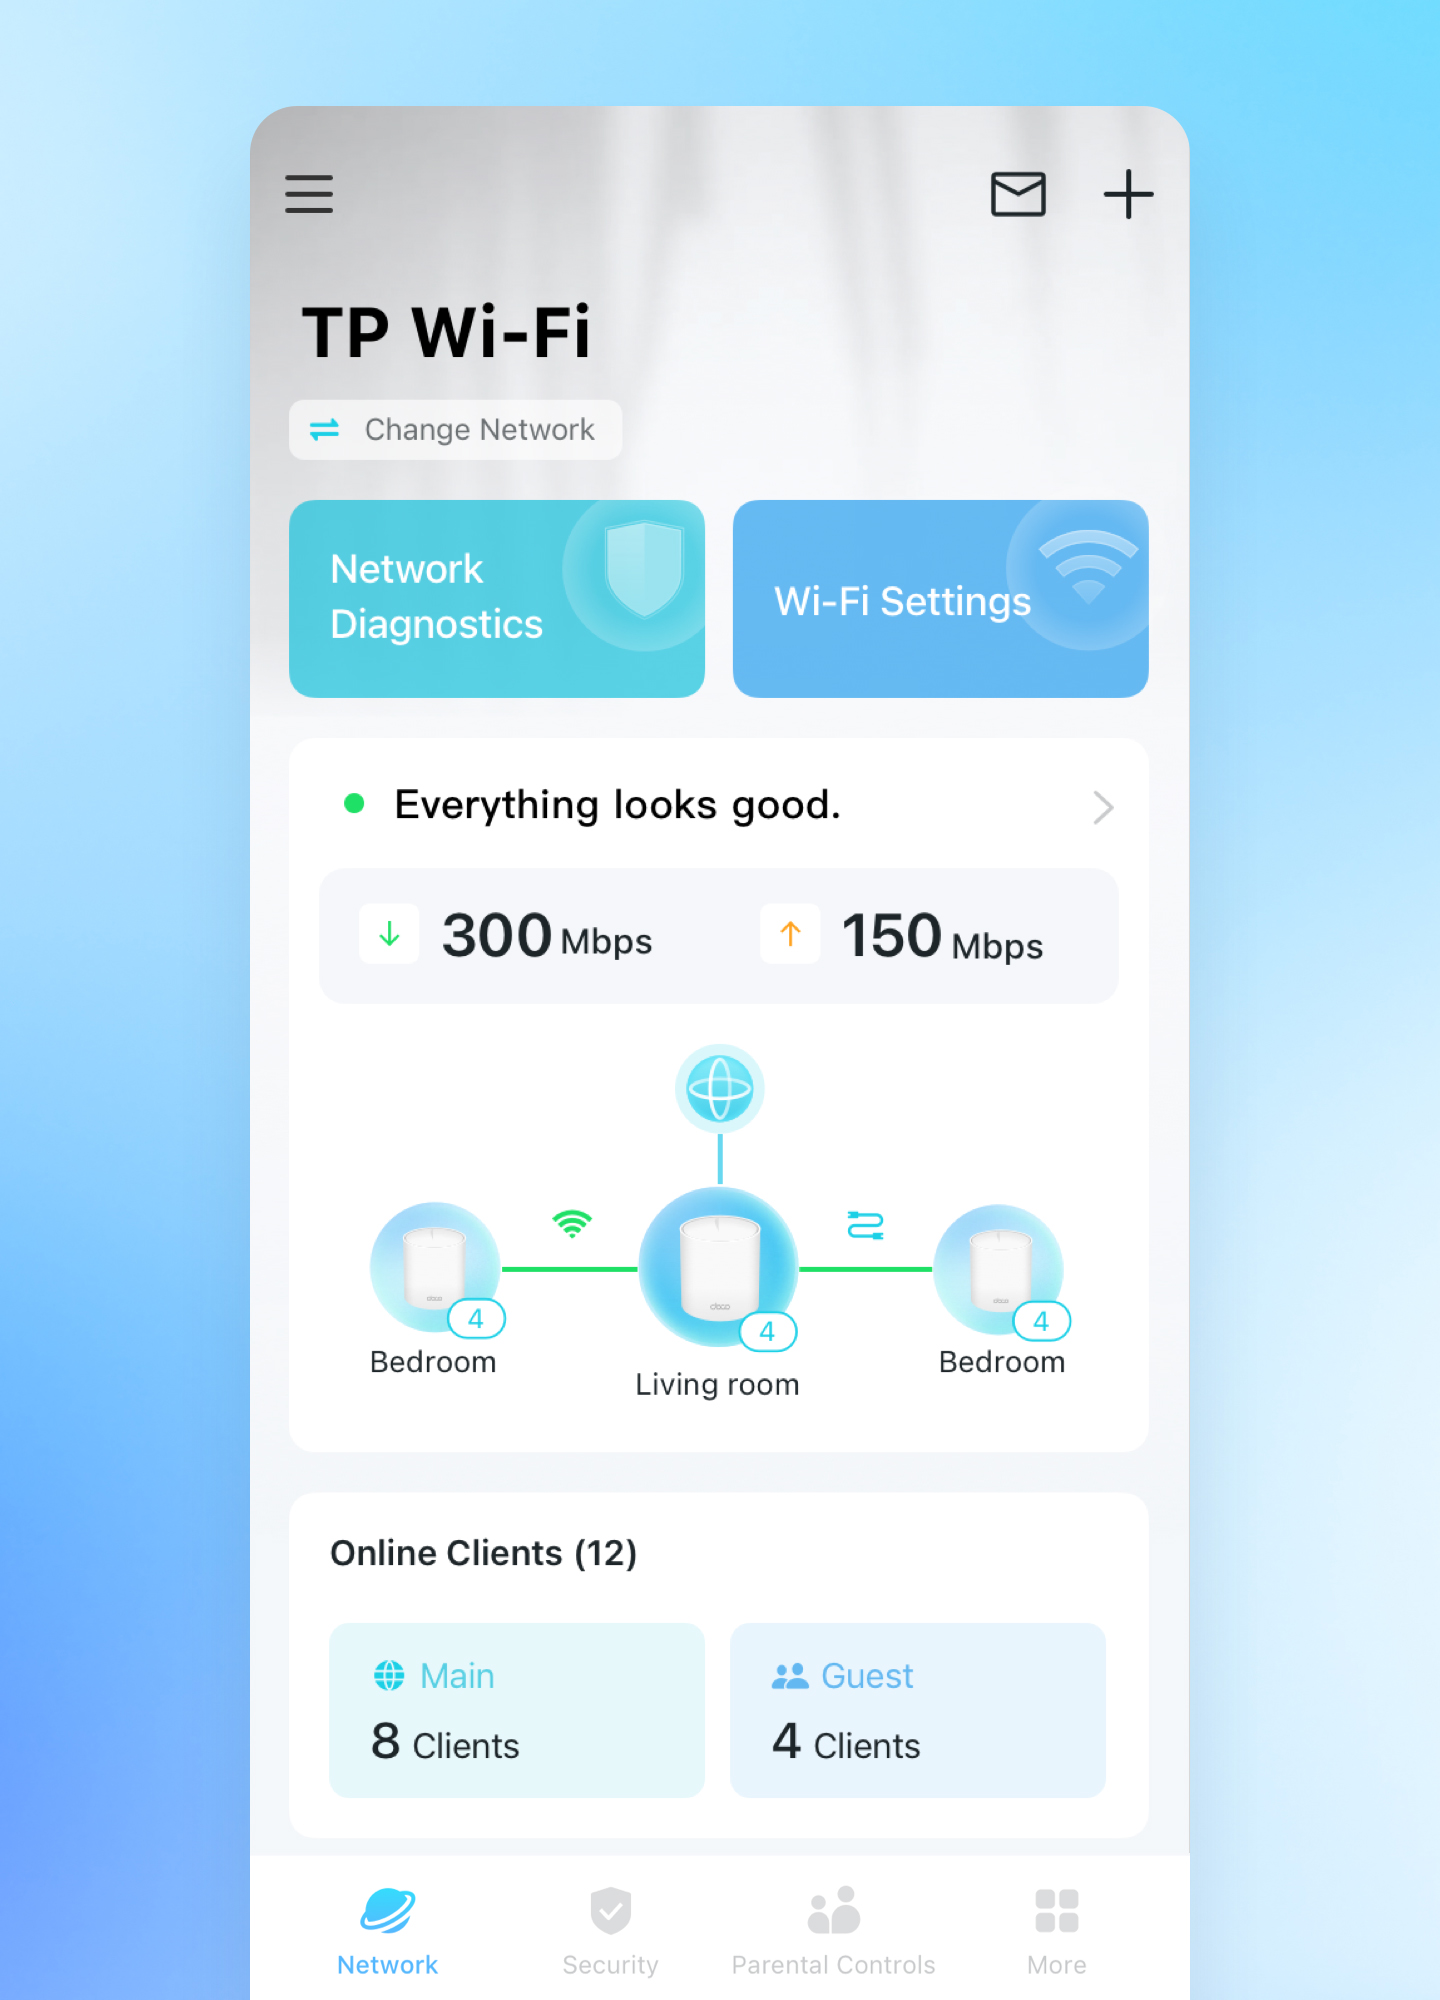
The configuration steps involved in the process are very similar to adding Deco nodes after the TP-Link Deco AX3000 setup. The reason being, it can be installed as an AP or as an independent router. Given below are configurations steps that you need to add the Deco X50 outdoor unit to an existing network.
- Launch the Deco app after connecting your mobile phone to the Deco WiFi network.
- If you are logged out, log in using the TP-Link ID.
- Now, go to the Network tab by tapping the + icon.
- From the available menu, choose Add a Deco Unit.
- Search for Deco X50-outdoor and select it.
- The app will now show some instructions.
- Go through them to complete the configuration of your outdoor Deco
Once done, take Deco unit along with its base plate and other accessories to the area where you want to place it.
3. Selecting Location for Deco X50
The location plays an important role in deciding the performance of a Deco unit. Thus, it should be chosen very wisely. Therefore, select it according to the following parameters:
- The chosen location must have access to a stable and secure power supply.
- The installation height of the outdoor Deco must be between 0ft to 25ft.
- Try to place Decos away from potentials WiFi interference-creating factors.
- A clear line of sight must be maintained between both Decos.
If you have connected the outdoor Deco i.e. X50 and the indoor unit wirelessly, there should be a distance of 33ft to 50ft between them. Your indoor Deco can be placed near a window. Also, there should be minimum obstacles between the path of communication of both Deco units.
4. Mounting the Deco X50 Node
Insert the power or Ethernet cable as per the power source you are using. Install the base plate to your X-50 outdoor unit. If you are mounting the Deco on a pole, lead the end of the mounting strap through the Deco’s back and tighten the strap until it is secure. If you are wall mounting the unit, use the screws.
The Conclusion
The Deco X50 outdoor unit can be easily installed with the help of the Deco app. It is assumed that using the information provided in the post, you will get successful in adding this Deco unit to the home network.

